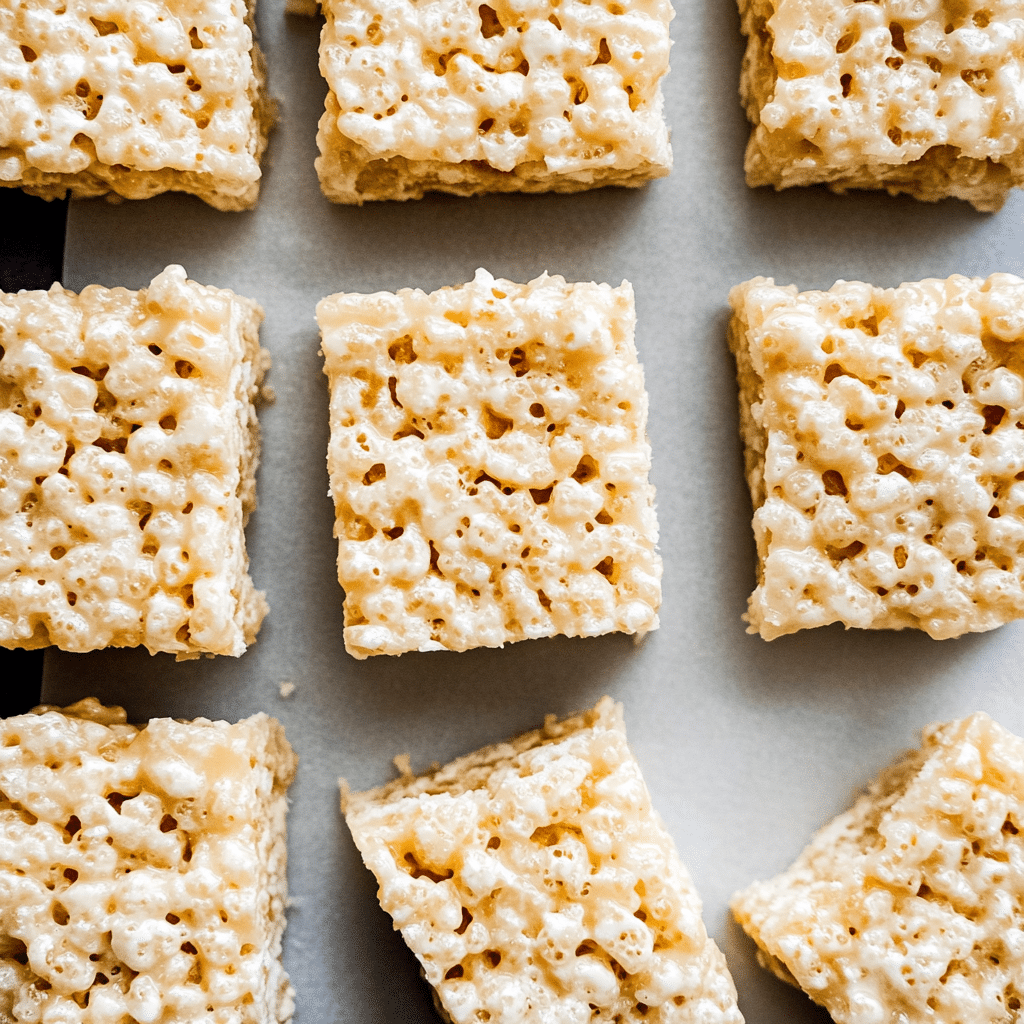
Soft, gooey, buttery, and perfectly chewy—Rice Krispie Treats are a nostalgic favorite that never go out of style. Whether you’re making them for a bake sale, party, or simple afternoon snack, this easy no-bake recipe delivers the ideal balance of crisp cereal and rich, melted marshmallows. The best part? You only need a few ingredients and less than 15 minutes of active time.
What sets this recipe apart from the rest is its texture: not too hard, not too sticky, but just the right softness that melts in your mouth. A generous amount of butter and marshmallows ensures every bite is indulgent without being overly sweet. It’s a kid-approved favorite and a crowd-pleaser for adults, too.
Perfect for holidays, lunchbox treats, or anytime you need a quick dessert fix, these Rice Krispie Treats are also highly customizable—add-ins like chocolate chips, sprinkles, or peanut butter take them to the next level. If you’ve ever had a dry or bland version, this recipe will change your mind for good. It’s the ultimate method for making gooey, golden, bakery-style bars every single time.
Why You’ll Love This Recipe
- Perfectly Gooey Texture – Soft and chewy, never dry or overly stiff.
- Quick & No-Bake – Ready in under 30 minutes with no oven required.
- Uses Pantry Staples – Just a few simple ingredients found in most kitchens.
- Kid-Friendly & Crowd-Pleasing – A classic treat that everyone loves.
- Endlessly Customizable – Make it your own with fun flavors and mix-ins.

Ingredients
- Rice Krispies cereal
- Mini marshmallows
- Unsalted butter
- Vanilla extract
- Sea salt (optional)
Variations
Chocolate-Dipped
Dip half the treat in melted chocolate and sprinkle with sea salt or crushed candy.
Peanut Butter Swirl
Add a few tablespoons of peanut butter to the melted marshmallow mixture.
S’mores Version
Mix in crushed graham crackers and mini chocolate chips for a campfire-inspired twist.
Festive Touch
Add food coloring or sprinkles to match a holiday or celebration.
Vegan/Dairy-Free
Use plant-based butter and vegan marshmallows for an allergy-friendly version.
How to Make the Recipe
Step 1: Prepare the Pan
Line a 9×13-inch baking dish with parchment paper or lightly grease it with butter or cooking spray.
Step 2: Melt the Butter
In a large pot over low heat, melt the butter completely. Stir often to avoid browning.
Step 3: Add Marshmallows
Pour in the mini marshmallows and stir continuously until fully melted and smooth.
Step 4: Mix in Vanilla
Remove the pot from heat and stir in vanilla extract (and salt if using).
Step 5: Fold in Cereal
Immediately add the Rice Krispies cereal and gently fold until evenly coated with the marshmallow mixture.
Step 6: Press into Pan
Transfer the mixture to the prepared pan and press down gently with a spatula or buttered hands. Do not compact too firmly.
Step 7: Let Set and Slice
Allow the treats to cool at room temperature for at least 30 minutes before cutting into squares.
Tips for Making the Recipe
- Use fresh marshmallows – Stale ones won’t melt as smoothly.
- Low and slow – Melt butter and marshmallows on low heat to keep the mixture soft and gooey.
- Don’t overpack – Gently press the mixture into the pan for light, chewy bars.
- Grease your hands – Lightly butter your fingers to avoid sticking when spreading the mix.
- Cut with a sharp knife – For clean edges, wait until the treats are fully set.

How to Serve
- Serve at room temperature on a dessert platter.
- Wrap individually in parchment paper for lunchbox or picnic treats.
- Stack on a tiered tray for party or bake sale presentation.
- Crumble over ice cream for a crunchy topping.
- Dip in chocolate and serve as dessert pops.
Make Ahead and Storage
Storing Leftovers
Store in an airtight container at room temperature for up to 3 days. Avoid refrigerating, as they may harden.
Freezing
Wrap individual squares in plastic wrap, place in a freezer bag, and freeze for up to 2 months. Thaw at room temperature.
Reheating
If treats become too firm, microwave a square for 5–10 seconds to soften before eating.
FAQs
1. Why are my Rice Krispie Treats hard?
Overheating the marshmallows or pressing the mixture too firmly into the pan can cause hardness.
2. Can I use large marshmallows instead of mini?
Yes, just measure by weight and cut them into smaller pieces for easier melting.
3. How long do they stay fresh?
They are best within 3 days but can last up to a week if sealed tightly.
4. Can I make these with other cereals?
Yes! Try Cocoa Krispies, Fruity Pebbles, or Cheerios for a fun twist.
5. Can I use salted butter?
Yes, just skip or reduce any added salt in the recipe.
6. How do I keep the treats from sticking to the pan?
Use parchment paper or generously grease the pan with butter or spray.
7. Can I add mix-ins?
Definitely—chocolate chips, candy pieces, or nuts are great additions.
8. Can I double the recipe?
Yes, but use a larger pan or two 9×13 pans to avoid overly thick bars.
9. Are these gluten-free?
Rice Krispies are not always gluten-free, so check the label or use a certified GF brand.
10. What if I don’t have vanilla extract?
You can skip it, but it adds a nice depth of flavor. Almond extract is a possible alternative.

Conclusion
The Best Rice Krispie Treats Recipe is a timeless classic that delivers every single time. Gooey, buttery, and loaded with nostalgic flavor, it’s the kind of treat that brings a smile to both kids and adults alike. Whether you’re making them for a party, gifting them to friends, or sneaking one for yourself with a cup of coffee, these bars are guaranteed to hit the sweet spot. With just a handful of ingredients and a few simple steps, you’ll have a batch of the best-ever Rice Krispie Treats ready to enjoy or share—if you can resist eating them all first!
Print
Best Rice Krispie Treats Recipe
- Total Time: 15 minutes
- Yield: 12 large bars 1x
- Diet: Vegetarian
Description
Soft, gooey, buttery, and loaded with marshmallow goodness—this is hands down the Best Rice Krispie Treats Recipe you’ll ever make. These treats are thick, chewy, and perfectly sweet, with the ideal ratio of cereal to marshmallow. Whether you’re making them for parties, bake sales, or just a nostalgic snack, these crowd-pleasing bars come together in minutes and taste like childhood in every bite.
Ingredients
-
6 tablespoons unsalted butter
-
1 (16 oz) bag mini marshmallows, divided (about 7 cups)
-
½ teaspoon pure vanilla extract
-
¼ teaspoon salt
-
6 cups Rice Krispies cereal
-
Optional: extra mini marshmallows for folding in
Instructions
-
Prep the pan: Grease a 9×9-inch baking dish or line with parchment paper for easy removal.
-
Melt butter: In a large pot over medium-low heat, melt the butter. Let it brown slightly for added flavor, if desired.
-
Melt marshmallows: Add about 6 cups of the marshmallows to the pot. Stir until melted and smooth. Remove from heat and stir in vanilla and salt.
-
Mix in cereal: Add Rice Krispies and stir quickly to coat. Fold in remaining 1 cup of mini marshmallows (optional, for extra gooeyness).
-
Press into pan: Transfer mixture to prepared dish. Gently press down using greased hands or a piece of wax paper—don’t pack too tightly or bars may become hard.
-
Cool and cut: Let set at room temperature for at least 30 minutes. Cut into squares and enjoy!
Notes
For softer bars, don’t overheat the marshmallows—melt them slowly over low heat.
Use fresh marshmallows for best texture.
Add-ins like chocolate chips, sprinkles, or peanut butter can be mixed in for variety.
Use a 9×13-inch pan for thinner treats or double the recipe for thicker bars.
- Prep Time: 10 minutes
- Cook Time: 5 minutes
- Category: Dessert
- Method: No-Bake
- Cuisine: American
Keywords: rice krispie treats, no bake dessert, marshmallow bars, kid-friendly snacks